Part 1: Add New Work Page (WordPress Editor)
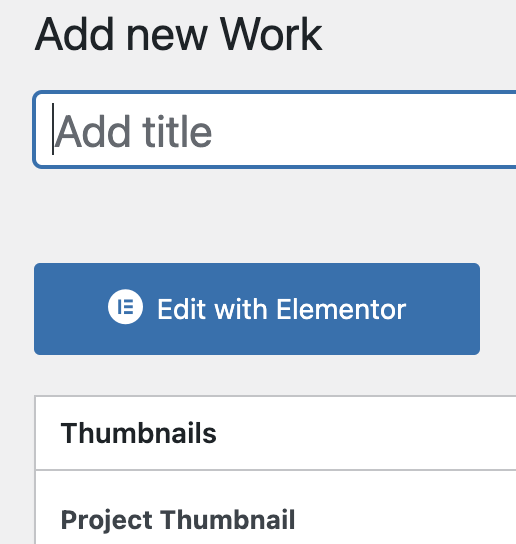
Hover “Our Work” in the Main Menu and click “Add New”
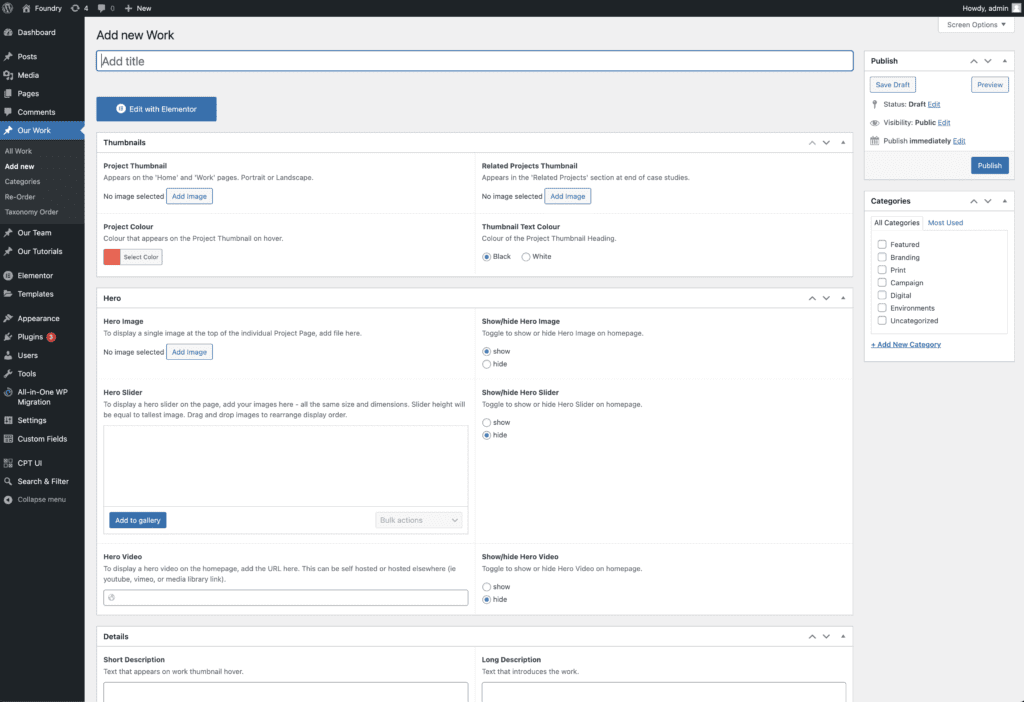
Thumbnails
A few different types of thumbnail are required here. Decide on a standard size you will upload these at. eg upload all Related Projects Thumbnails at 600px wide by 400px high. Options for thumbnail background colour and text colour are required here too.

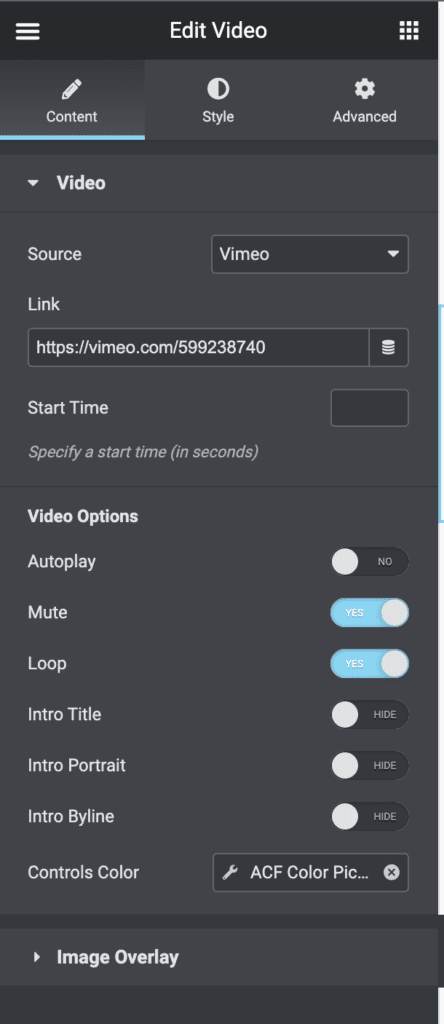
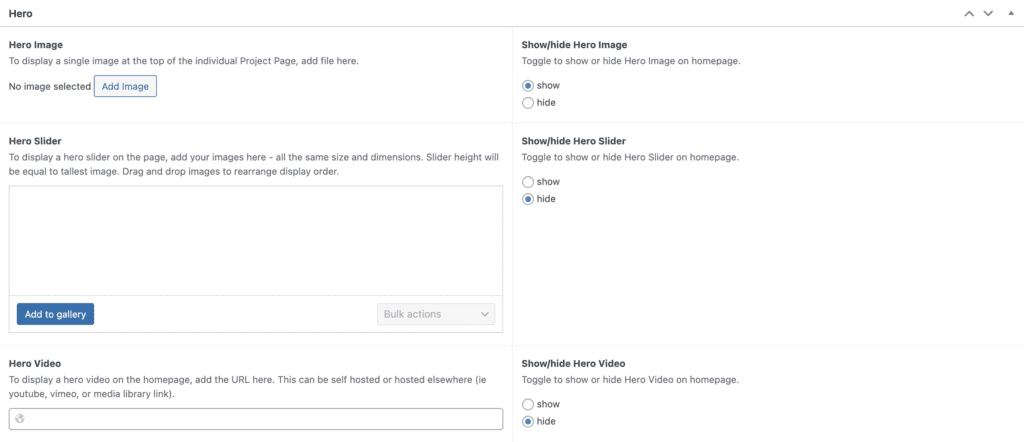
Hero
This is where you can upload and choose between which kind of Hero displays on your work page. Make sure to only have one option set to “show” and the other two set to “hide”.
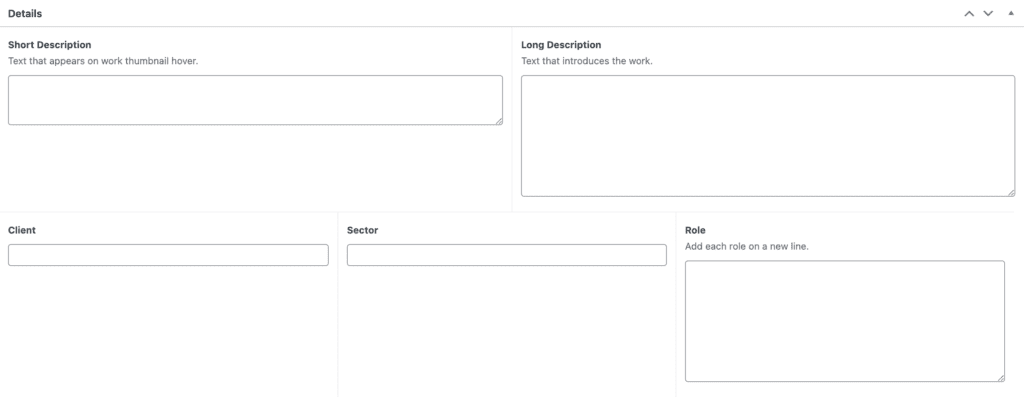
Details
This is where you set all the text content for the page.
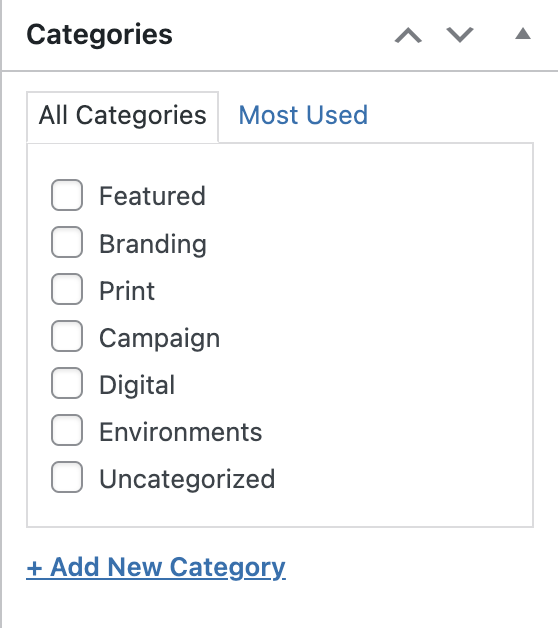
Category
Choose the related categories. You can select multiple. This relates to the filters on the Work Collection page.
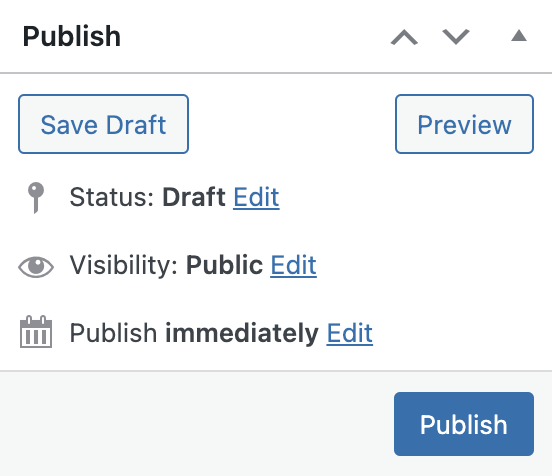
Save your work
Make sure you hit publish/update to save your changes.
Part 2: Add Work Image Blocks (Elementor Editor)
Click the “Edit with Elementor” button
Elementor editor will open up in the same window.
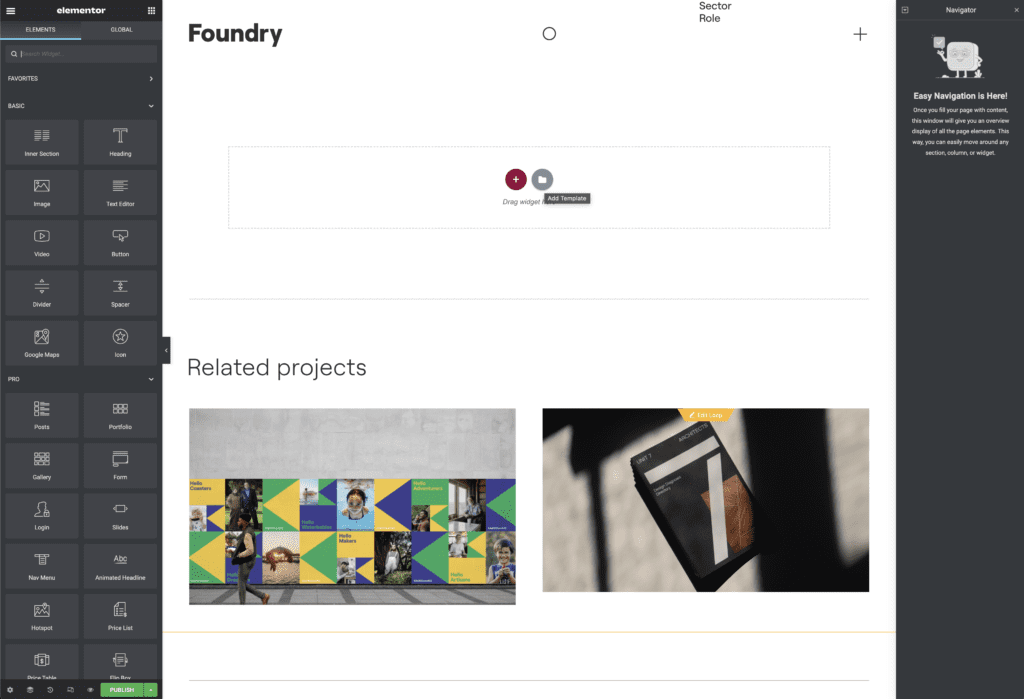
Start adding Template Blocks
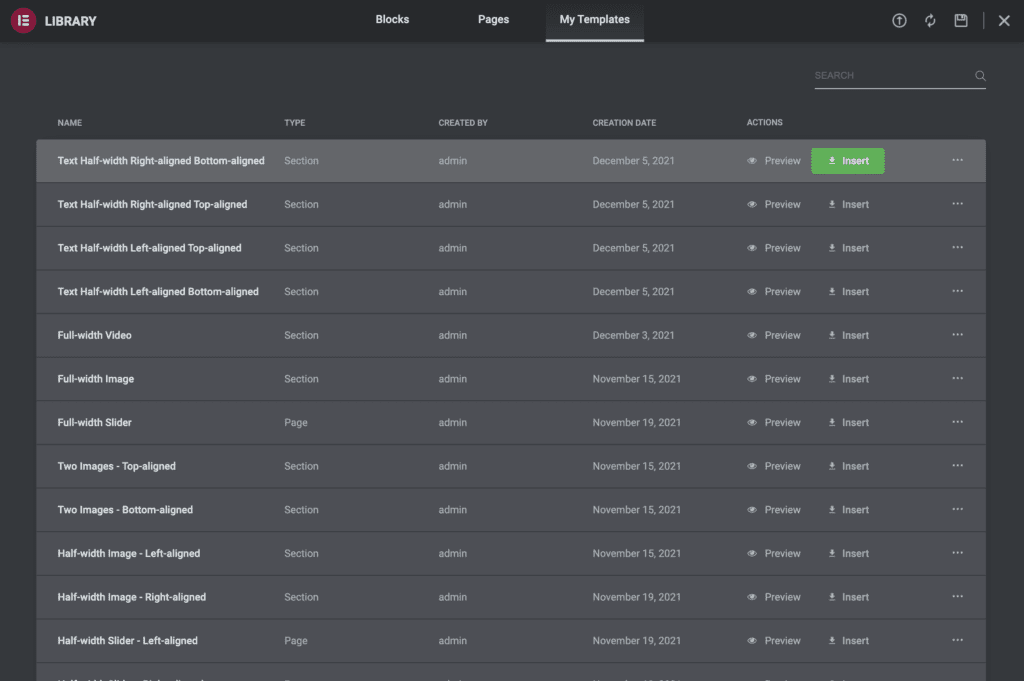
Click the folder icon to open the saved templates popup.
Choose a template block
Select the “My Templates” tab at the top of the popup and choose the kind block you wish to add from the list. Click “insert”.
(Note: the popup will open by default on the “pages” tab.)
Confirm import document settings
Click “Yes” when this pops up. This will not cause any issues as the settings will match with your current page.

Navigate the content of the template block
You can click anywhere on the content you add to the page to edit it.
On the right side of the page is the Navigator panel. Use this to navigate through sections, columns, and items. Clicking on an item in the Navigator should open up its settings on the left side of the page.
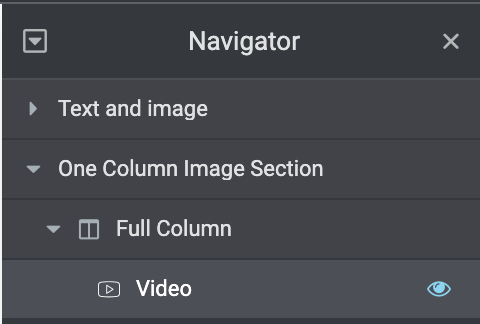
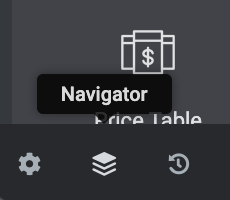
If the navigator is not visible, click the layer icon bottom left of page.
On the left side of the page is the Item Editor. This is where you change the settings of the individual item you have selected.